Intro
Follow along with me in an adventure into three.js. This is less a tutorial and more of a documentation regurgitation. However, I'll be providing instructions for how to go about things as I did for those who find reading blog posts more enjoyable than docs. Everyone else, feel free to head to the documentation here instead.
The Setup
I'm using iterm and VS code on a mac, so please note that some of the specifics will vary depending on what you're using.
In terminal, save three.js somewhere so you can copy it over to whatever files you make in your rly cool 3D developer future. I chose to do it in my home directory.
mkdir threeJs followed by curl https://threejs.org/build/three.js >> threeJs/three.js to store it for safekeeping.
Now cd into whatever folder you're working in and cp ~/threeJs/three.js ~/your/destination/path/goes/here/three.js. I like to keep my scrips in their own folder so my path looked like this cp ~/threeJs/three.js ~/sei54-classwork/playbin/threeJs/JS/three.js.
Already three is no longer a real word and never will be again, but I'm going to be saying it a lot and so I guess it's good we got that out of the way early. touch index.html and touch JS/cube.js. Let's take that to our editor.
Getting Started
The docs suggest writing your script in your HTML between script tags but I'm not into that, so let's use the cube.js file we made earlier.
We need three things to set up our Three.js boilerplate.
1. Scene
const scene = new THREE.Scene();
Be careful with the capitalisation here. const scene = new THREE.scene()
will set up everything utterly broken and you will feel very sad.
2. Camera
const camera = new THREE.PerspectiveCamera( 75, window.innerWidth / window.innerHeight, 0.1, 1000 );
There are a number of cameras we could use here, but the docs start with PerspectiveCamera and so am I.
The first attribute we're giving PerspectiveCamera is the field of view, 75 here means 75 degrees. This is in essence, what parts of our scene are being displayed at any given time. The whole point of Three.js is that it's 3D, so as in life, our simulation three-dimensional objects will have parts visible and invisible from any given perspective.
window.innerWidth / window.innerHeight
The next is aspect ratio. Using the width divided by height means that our element won't get squished up and weird looking. This keeps everything proportional. You might have experienced similar issues crop up when controlling the width and height of an image with CSS. When you try to control both aspects things tend to stretch and squish in odd ways. Width divided by height here provides an elegant solution for controlling the proportions of our Three.js elements.
( 75, window.innerWidth / window.innerHeight, 0.1, 1000 );
Then finally, we have near and far. That's those two numbers on the end there. This controls for the vanishing point. Things that are further than our far value won't be rendered, nor those closer than our near value. The docs pat us on the head at this point and tell us not to worry about it for now, but apparently, this may be useful to toy around with in future apps for 'better performance'. Whatever that means. Onward we go.
3. Render
const renderer = new THREE.WebGLRenderer();
renderer.setSize( window.innerWidth, window.innerHeight );
document.body.appendChild( renderer.domElement );
As with camera, so too with render. There are a number of options, we're using WebGLRenderer first. The others are mostly used as fallbacks for browsers that don't support WebGLRender anyway.
renderer.setSize( window.innerWidth, window.innerHeight );
Here we set the width and size to the area we want to fill up, our screen. To customise this use setSize. To customise the resolution however, call setSize with false as updateStyle.
document.body.appendChild( renderer.domElement );
Last but not least, we cram everything through the dom like the violent little javascript programmers we are.
Right now my index.html looks like this:
<!DOCTYPE html>
<html lang="en">
<head>
    <meta charset="UTF-8">
    <title>Three.js Shit</title>
    <style>
        body { margin: 0; }
    </style>
</head>
    <body>

        <script src="JS/three.js"></script>
        <script src="JS/cube.js"></script>
    </body>
</html>
While my cube.js looks like this
const scene = new THREE.Scene();
const camera = new THREE.PerspectiveCamera(75, window.innerWidth / window.innerHeight, 0.1, 1000)

 const renderer = new THREE.WebGLRenderer();
 renderer.setSize( window.innerWidth, window.innerHeight);
 document.body.appendCHild(renderer.domElement);
Now let's make something.
Making Something
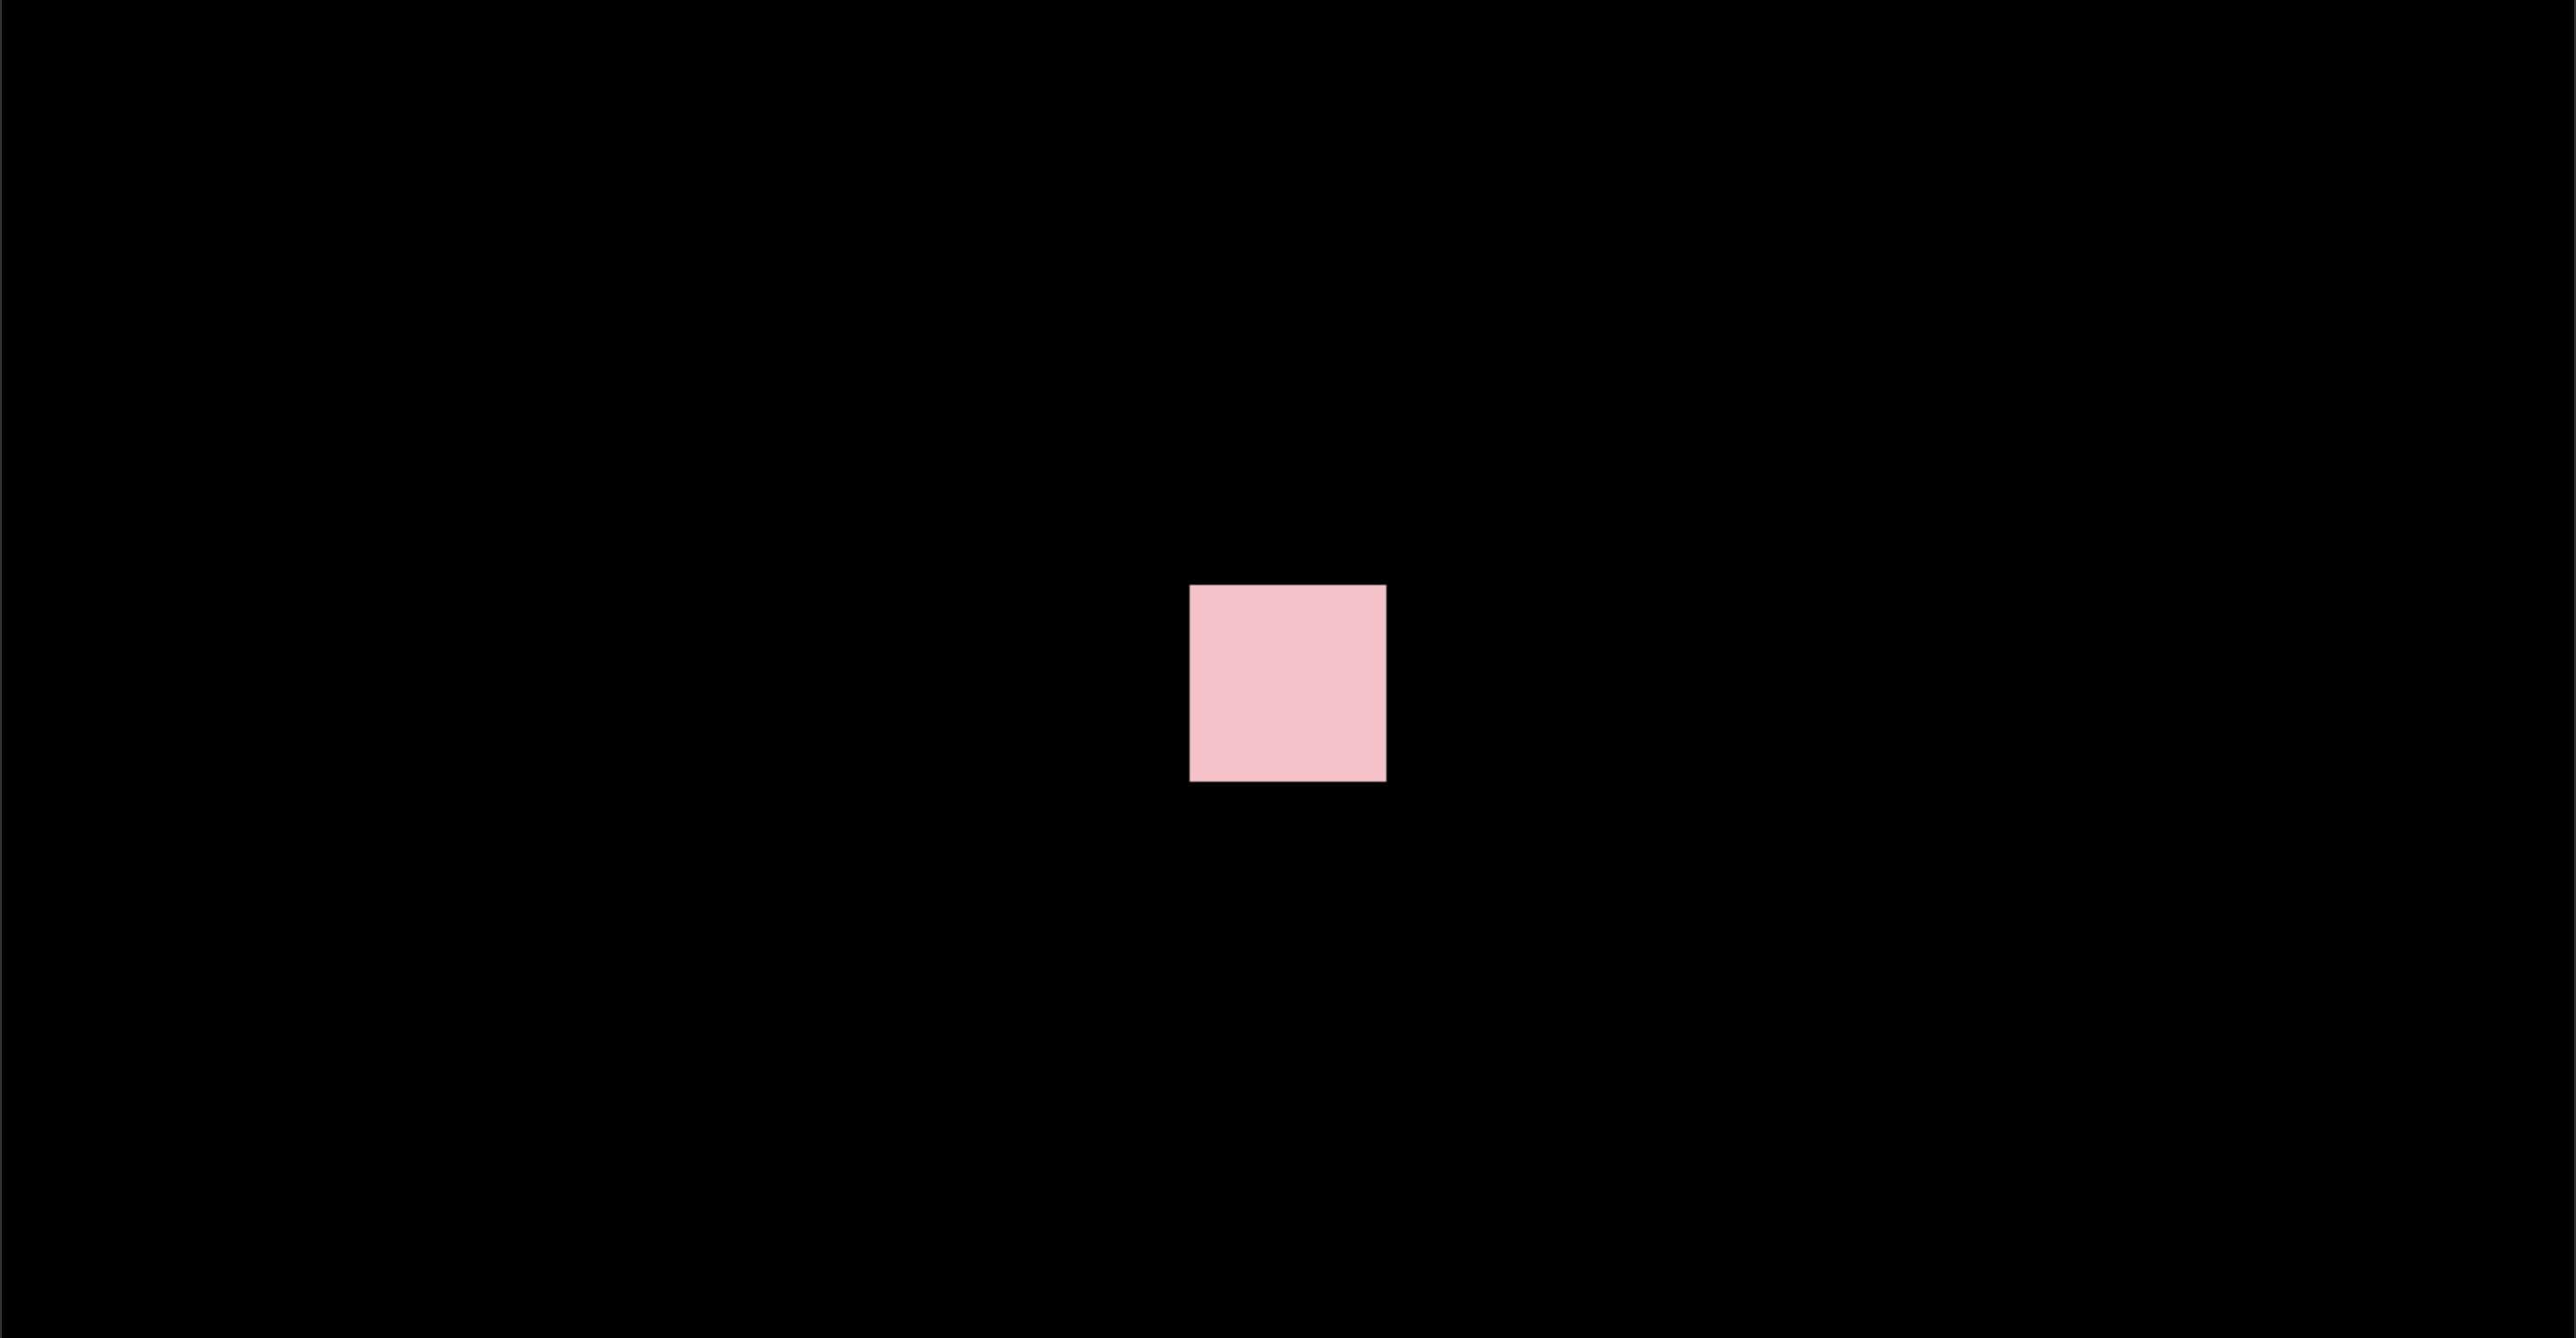
const pink = new THREE.Color("pink");
const geometry = new THREE.BoxGeometry(1, 1, 1);
const material = new THREE.MeshBasicMaterial( { color: pink } );
const cube = new THREE.Mesh( geometry, material );
scene.add(cube);
camera.position.z = 5;
The ingredients for the cube are just about all in the BoxGeometry object. It contains all verticles and faces of our cube. Our colour, colours. Boy it feels good to use the Australian spelling of that word.
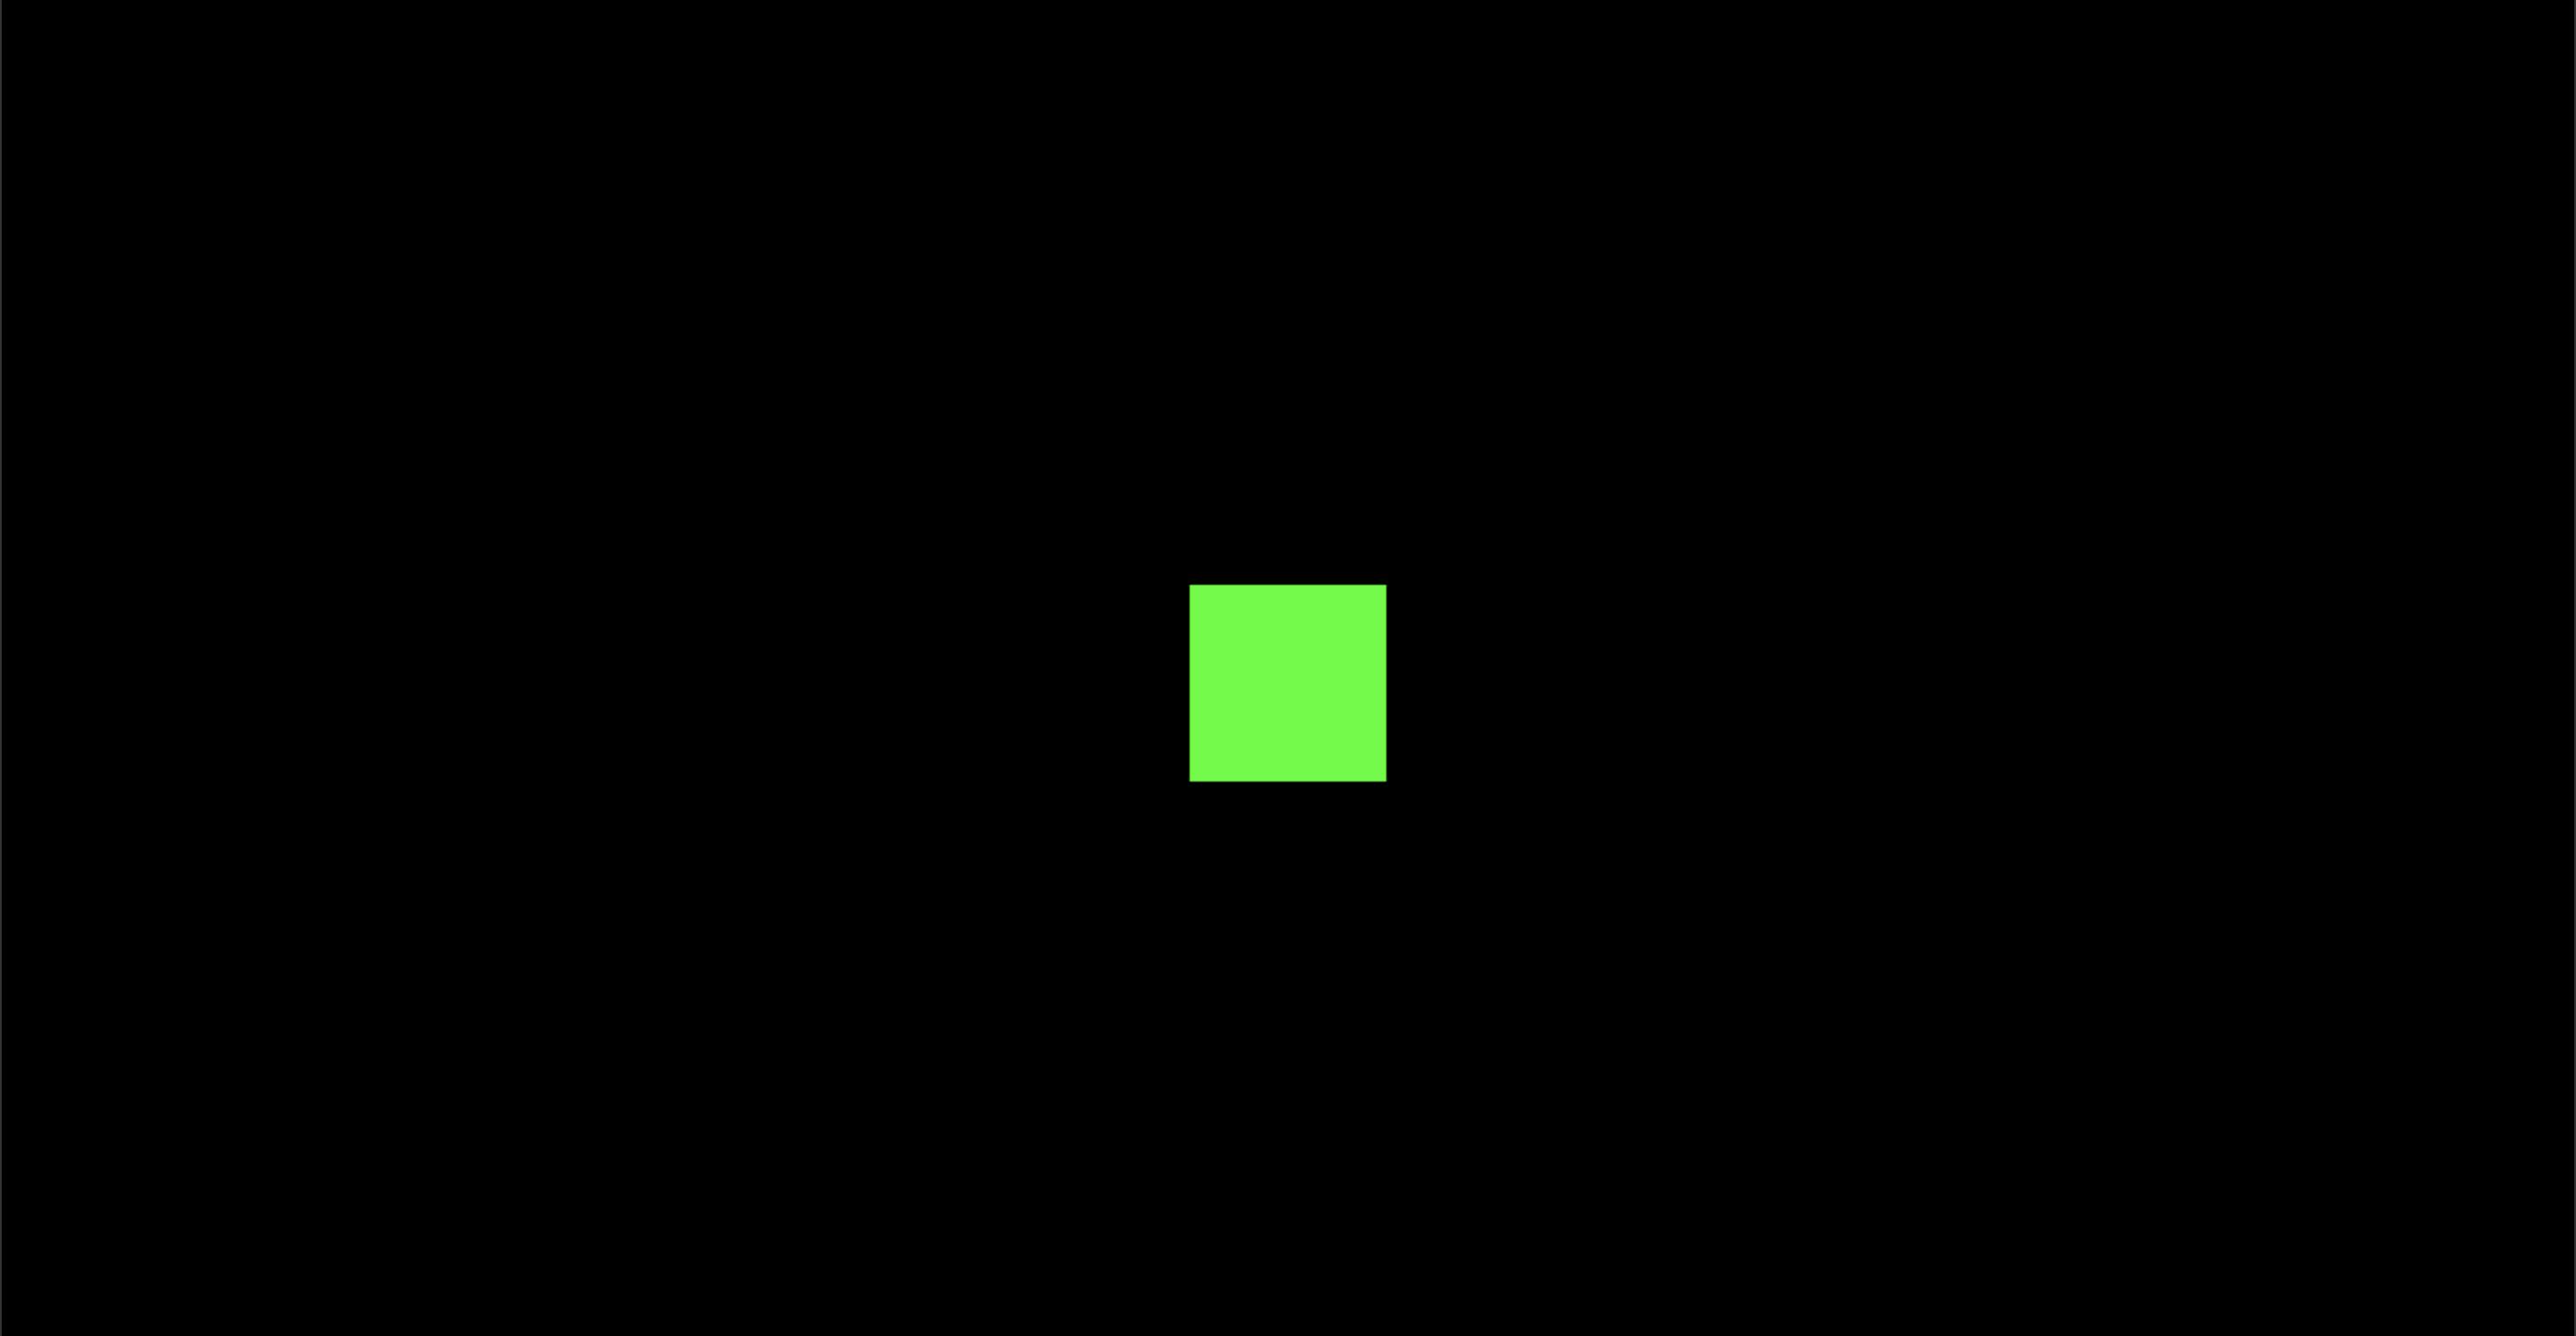
The OG documentation gives us this hideous green cube to play with:

const material = new THREE.MeshBasicMaterial( { color: 0x00ff00 } )
Not my cup of tea. I played around a bit and found that most of my efforts to change the colour in the same breath that I was initialising the new three mesh just resulted in everything breaking.
So on I went and dug into the Three.js 'Color' documentation here to play around with the possibilities since Three.js wants to be finicky about it.
You can refer to the docs to review all the ways you can initialise a colour, I went with something simple.
 const pink = new THREE.Color("pink");

 const material = new THREE.MeshBasicMaterial( { color: pink } );

At this point, you might be thinking "ok but what have I mistyped? I'd take any colour over the blank void I'm looking into right now". Hold your horses, we haven't even rendered the scene yet!
Rendering the Scene
To pull our cube out of our imaginations and into our computer screens we must use a render or animate loop
function animate() {
     requestAnimationFrame( animate );
     renderer.render( scene, camera );
}
animate();
Look at you go, you little mad scientist. You birthed a cube. renderer.render is a bit of a mouthful. Not keen on naming the variable that again. Oh well.
The animate function uses requestAnimationFrame to create a loop that causes renderer to redraw the scene every time the screen is refreshed. One benefit to using requestAnimationFrame over setInterval for example, is that when a user clicks through to another tab requestAnimationFrame pauses where setInterval would continue. Use requestAnimationFrame to save the environment, restore world peace, and keep our user's processing power and battery life unwasted.
Alright, all this is well and fun but it isn't exactly 3D is it?
Make it 3D Now Please
function animate() {
     requestAnimationFrame( animate );
     cube.rotation.x += 0.01;
     cube.rotation.y += 0.01;
     renderer.render( scene, camera );
}
animate();
Look at it go. Woah.
Full JS Here
const scene = new THREE.Scene();
const camera = new THREE.PerspectiveCamera(
  75,
  window.innerWidth / window.innerHeight,
  0.1,
  1000
);

const renderer = new THREE.WebGLRenderer();
renderer.setSize(window.innerWidth, window.innerHeight);
document.body.appendChild(renderer.domElement);

//////////////////////////////////////////////////////////////////////////////////////////

const purple = new THREE.Color("purple");
const geometry = new THREE.BoxGeometry(1, 1, 1);
const material = new THREE.MeshBasicMaterial({ color: purple });
const cube = new THREE.Mesh(geometry, material);
scene.add(cube);
camera.position.z = 5;

function animate() {
  requestAnimationFrame(animate);
  cube.rotation.x += 0.01;
  cube.rotation.y = +0.01;
  renderer.render(scene, camera);
}
animate();
